Before activating your camera:
- Charge the lithium battery (V-LIT-B3), for at least 24 hours before putting it into the camera.
- Use the provided USB cable for charging.
- Once plugged in, the LED on the battery unit will turn red. You will know the charge is complete when the LED turns green.
- Charge the Universal Solar Power Bank for 4-6 hours.
- Plug the included DC power adapter into the (IN 5V) port.
- During this charging process, the red LEDs flash to indicate charge level, while the green light stays steady. It takes between 4 and 6 hours to fully charge.
- Holding the TEST button for 5 seconds will display the charge level.
- Insert the MicroSD card. Open the panel at the bottom of the camera and insert the provided MicroSD card into the slot.
Activating your camera with VOSKER mobile app:
- Download the VOSKER mobile app. This will allow you to control your VOSKER camera remotely.
- Google Play Store (Android)
- Apple App Store (iOS).
- Activate the first camera in your account.
- Open the VOSKER app and log in to your account.
- Press “ACTIVATE NEW CAMERA” from the Welcome screen. Follow the instructions.
- Activate subsequent cameras in your account.
- Press the “CAMERAS” tab, at the bottom of the screen.
- Press the “+” button in the upper right corner.
- Follow the instructions.
Activating your camera with the VOSKER web app:
- Log in to your account.
- Click the “+” button on the main screen.
- Follow the instructions.
Turning your camera on:
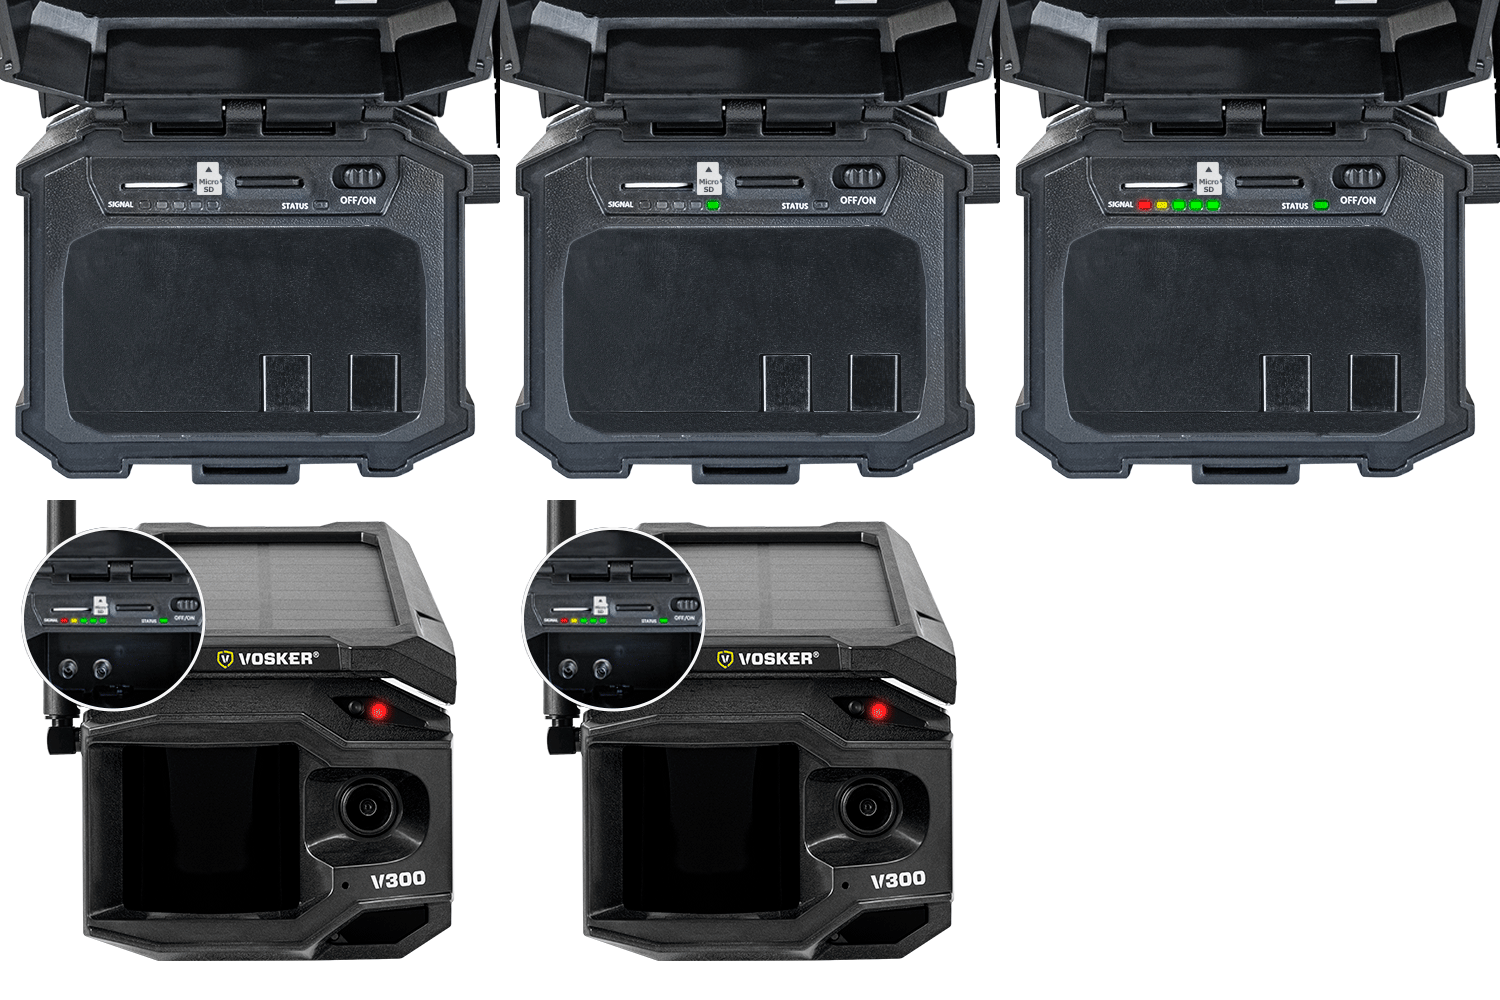
- When you turn on the camera, it will start searching for a signal and the status light will flash green.
- Once the signal is stable, you should see steady signal bars, depending on coverage strength.
- A 30-second countdown will start when the front delay LED starts flashing red.
- Once the countdown is complete, the photo mode is activated.

The V300 powers on and secures a strong signal.
- All the lights will turn off and the camera is now ready to take photos/videos.
- In the “Cameras” tab, press the camera’s “…” menu to access the “Status” tab of your VOSKER application. This will allow you to check the “Last sync” to see if the camera has updated its status with the most recent information.
- You can then change the settings according to your preference. The new settings will take effect at the next transfer time.
Note: There may be a 20-120 seconds delay for the camera to make the first communication or transfer the first photo/video to the app.


